")
Have you ever looked closely in the mirror and spotted small streaks in your foundation? Red Flag Alert! But only for your makeup tools. What you apply makeup with is as important as what you apply on your face. And, at the heart of it all lies the importance of a flawless foundation application which is the very foundation to achieve a radiant and immaculate makeup look (pun intended).
So without further ado, let’s figure out how to apply foundation with brush, sponge or fingers and explore the fantastic four (I mean three) methods that can make or break your makeup game.
Table of Contents
Why is it Important to Apply Foundation Flawlessly?
Foundation is not just a product; it’s like a shapeshifter for your skin – evens out imperfections, enhances your natural complexion, and prepares your skin for the rest of your makeup. Doesn’t matter if you apply foundation with brush, sponge or your hands, a flawless foundation application sets the tone for the entire makeup.
Having said that, keep in mind that it’s not about masking your features but make them pop. It’s about embracing your individuality and letting your inner radiance shine through. So, whether you’re a makeup maestro or a novice experimenting with brushes, sponges, or even your fingers, the goal remains the same: a flawless and authentic expression of yourself.
Sponge, Brush, or Fingers: Who Wins?
Now, let’s peek behind the curtain into the three main techniques that hold the key to a stunning foundation application. Imagine them as characters in a story, each with its own behavior, fortes, and quirks.
- The Brush: It’s no secret that the brush takes centre stage as the makeup application tool, promising precision and an even coverage. There’s more on how to apply foundation with brush.
- The Sponge: Next up, the sponge. It soaks up excess product and dances across your skin, leaving behind a natural finish. Wondering how to apply foundation with a sponge?
- The Fingers: Last but not least, our story wouldn’t be complete without the fingers. Quick, convenient, and armed with a touch of warmth.
So, fasten your seatbelt as the stage is set, and the spotlight is yours!
Back to Basics: Know Your Foundation
So, you’ve got that foundation bottle in your hands. Don’t open it just yet! Before we dive into brushes, sponges, and fingers, let’s get the basics straight. Here’s the to ensure your makeup game is as strong as your coffee in the morning.
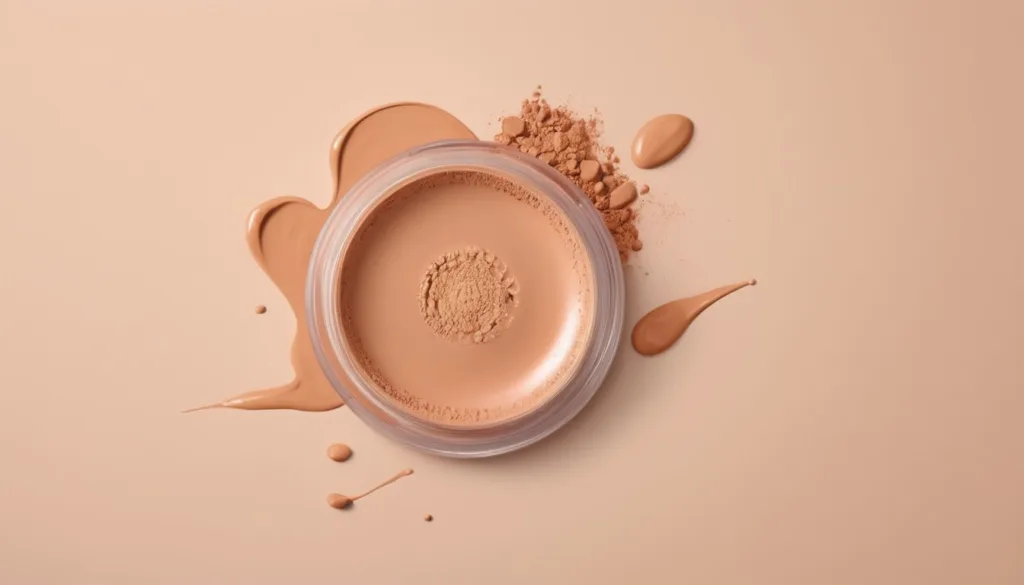
Foundation 101: Liquid, Cream, Powder?
- Liquid Foundations: Think of these as the chameleons of the makeup world. They offer buildable coverage, ranging from a sheer glow to full-on glam. Perfect for those who like to switch up their look every once in a while.
- Cream Foundations: Creamy goodness! These are thicker in consistency and work best with dry skin. They provide a velvety finish and often have excellent coverage.
- Powder Foundations: Light as a feather! Powders are fantastic for a natural finish and are ideal for shiny oily skin. They’re like your secret weapon against that midday shine.
Pro Tip: Mix and Match! Don’t shy away from combining different foundation types for a customized finish. A bit of liquid with a dash of powder?
Choosing the Right Shade and Formula
- Shade Matching: Ever seen someone with a foundation line that looks like a mask? Not cute right? Always test the shade on your jawline to ensure a seamless blend. Consider natural lighting your BFF during this process.
- Know Your Undertones: Are you warm, cool, or neutral? Understanding your undertones is the secret sauce to finding the perfect shade. Warm undertones lean towards yellow or peach, while cool undertones have pink or blue tones.
- Formula Magic: Different strokes for different folks! If you have oily skin, go for oil-free formulas. Dry skin? Hydrating foundations are your go-to. Combination skin? Well, lucky you – most formulas work like a charm!
Pro Tip: Change with the Seasons! Your skin tone might change slightly with the seasons. Don’t be afraid to have a summer shade and a winter shade for a consistently flawless look.
Before the Glam, Skin Prep
- Cleanse and Moisturize: Start with a clean canvas by cleansing, and then moisturize to create a smooth surface whether you apply foundation with brush, sponge or fingers to play on.
- Primer Love: If you want your makeup to stay put all day, primer is your secret weapon. It blurs imperfections and creates a velvety base for your foundation.
- Wait for it: Give your moisturizer and primer a minute to settle in whether you apply foundation with brush, sponge of fingers. It’s like letting the ingredients mingle at a makeup party.
Pro Tip: Ice, Ice Baby! Feeling a bit puffy? Run an ice cube over your face before starting. It’s like a mini facelift and helps the products glide on effortlessly.
How to Apply Foundation With Brush
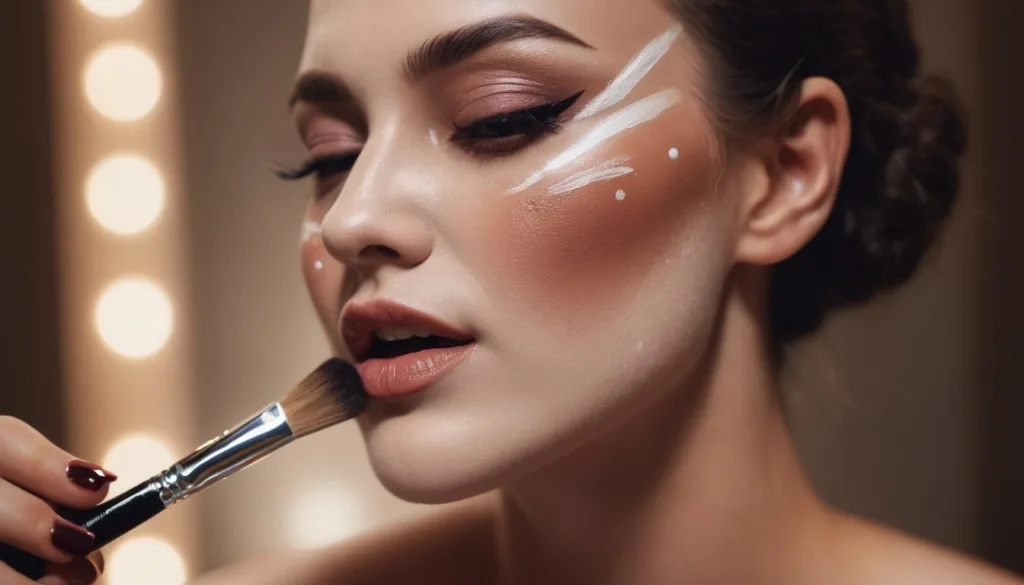
Perks of Using a Brush
- Precision and Even Coverage: Brushes allow you to target specific areas with surgeon-like precision, ensuring that every inch of your face gets the attention it deserves. No more uneven patches!
- Blending Capabilities: Ever dreamt of that flawless airbrushed look? Brushes are your ticket to achieving it. Apply foundation with brush and it blends seamlessly into your skin, creating a smooth canvas.
Pro Tip: Want to blend your foundation like a pro? Invest in a good-quality brush! A high-quality brush makes all the difference in achieving that professional finish.
Step-by-Step Guide
- Choosing the Right Brush: Not all brushes are created equal. For liquid foundation, opt for a flat, dense brush, while a fluffy, rounded brush works wonders with powder.
- Dispensing and Applying Foundation: Less is more! Squeeze a small amount of foundation onto the back of your hand. Dip your brush in and dot it onto your face. This ensures even distribution and avoids that dreaded cakey look.
- Techniques for Blending and Buffing: Use circular motions to blend and buff the foundation into your skin. Start from the centre of your face and work your way outwards to achieve a seamless finish.
Common Mistakes to Avoid
- Overdoing It: Resist the urge to use too much product. Trust me; a little goes a long way.
- Skipping the Neck: Blend that foundation down to your neck! No one wants a floating head effect.
Pro Tip: Clean Your Brushes Regularly! Dirty brushes can lead to breakouts and uneven application. Aim for a deep clean every two weeks to keep your brushes in top-notch condition.
Tips for Achieving a Pro-like Finish
- Setting the Stage: Lightly mist your brush with a setting spray before blending. It not only improves blending but also makes your makeup last longer.
- The Final Touch: For that extra oomph, lightly press a makeup sponge over your foundation once applied. It helps in melding the product seamlessly with your skin.
Pro Tip: Practice Makes Perfect! Don’t be disheartened if you don’t nail it on the first try. Like any art form, makeup application improves with practice and practice. Experiment with different techniques until you find what works best for you.
How to Apply Foundation with a Sponge
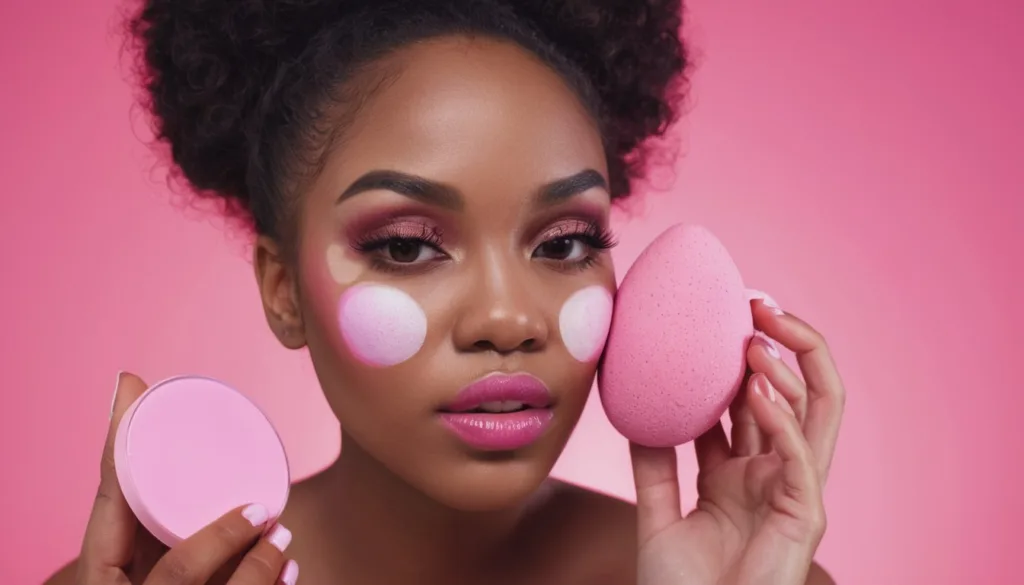
Ah, the sponge – it’s like one of those infinity stones that enhances your makeup’s “power” to slay that enviable natural glow. If you’re wondering how to apply foundation with a sponge, now is the time to grab that soft and squishy little thing, and let’s dive in!
Perks of Using a Sponge
- Seamless Blending: A sponge is to foundation what airbrushing is to photos. It blends your foundation seamlessly into your skin, leaving no trace of lines or streaks. It’s like a soft-focus filter for your face.
- Natural Finish: The sponge is your ticket to that “I woke up like this” look. It imparts a natural, dewy finish that’s hard to replicate with other tools. Your skin, but better!
Pro Tip: Go Damp! Always dampen your sponge before use. It ensures the foundation doesn’t get absorbed into the sponge, giving you maximum coverage.
Step-by-Step Guide
- Selecting the Right Sponge Type: Beauty sponges come in various shapes and sizes. A classic beauty blender is fantastic for an all-over application, while a teardrop-shaped sponge is perfect for detailed work. Choose wisely!
- Dampening the Sponge: It’s a damp party! Run your sponge under water and give it a gentle squeeze. The goal is to have a slightly expanded, damp sponge so your foundation goes on like a dream.
- Applying and Blending Foundation: Dot your foundation onto your face using the rounded end of the sponge. Now, bounce away! Use a gentle tapping motion to blend the foundation into your skin.
- Special Techniques for Different Finishes:
- Sheer Finish: Use the pointed end of the sponge for precise application.
- Full Coverage: Bounce away with the rounded side for an even, full-coverage look.
Pro Tip: Build It Up! If you prefer more coverage, layer your foundation in thin, buildable layers.
Dos and Don’ts for Sponge Application
- Do Replace Regularly: Your sponge is a workhorse, but even workhorses need a break. Replace your sponge every few months to ensure a clean and hygienic application.
- Don’t Forget to Clean: A dirty sponge is a no-no. Clean your sponge regularly with mild soap or a dedicated sponge cleanser.
Pro Tip: Double Duty! Your sponge isn’t just for foundation. Use it for blending concealer, cream blush, or even setting powder. Use it dry though for powder application.
How to Apply Foundation with Fingers

Alright, now let’s talk about the OG method of foundation application – using those fabulous fingers! If you’ve ever wondered how to apply foundation with fingers, well it’s quick, it’s convenient, and brings a personal touch to your makeup routine.
Perks of Using Fingers:
- Quick and Convenient: When life is in the fast lane, your fingers become your trusty sidekicks. No brushes, no sponges? No worries! – just the sheer speed of your fingertips getting the job done. Perfect for those busy mornings or impromptu plans.
- Warms the Product for Better Blending: Your fingers are like tiny warmers for your foundation. The heat from your hands helps the product melt into your skin, ensuring a seamless blend.
Pro Tip: Blend, Don’t drag! When using your fingers, avoid rubbing the foundation into your skin. Instead, use tapping or patting motions for a natural finish.
Step-by-Step Guide
- Clean Hands and Prepped Skin: It’s showtime, and hygiene is key! Wash your hands thoroughly before starting off your makeup. Cleanse and moisturize your face for a smooth canvas.
- Dispensing and Spreading Foundation: Dab a small amount of foundation on your fingertips. Dot it onto your face, focusing on areas that need more coverage. Remember, less is more – you can always build up.
- Techniques for Blending: Channel your inner artist! Using your fingertips, blend the foundation into your skin using upward and outward motions. The warmth of your fingers ensures a natural and even application.
- Areas Where Finger Application Excels: Around the Nose and Eyes – Fingers are fantastic for these intricate areas. The precision of your fingers allows for detailed work, ensuring you don’t miss a spot.
Pro Tip: The Ring Finger Rule! When applying foundation around the eyes, use your ring finger. It’s the weakest finger, ensuring a gentle touch to this delicate area.
Tips for Achieving a Seamless Finger Application:
- Keep It Hydrated: If you find your fingers dragging on your skin, a touch of moisturizer can help smooth out the application.
- Layer It Up: For more coverage, layer your foundation. Start with a thin layer, let it set, and then build up as needed to create your personalized foundation intensity.
Pro Tip: Sheer it Out! If you prefer a more natural look, mix a bit of moisturizer with your foundation before applying. It’s like creating your own tinted moisturizer.
Comparing Techniques: Finding Your Perfect Match!

Alright, that’s brushes, sponges, and fingers done and dusted. Now, let’s compare these techniques and discover which one matches with your signature style.
Pros and Cons of Each Method:
- Brush Genius:
- Pros:
- Precision like a makeup artist
- Even coverage for a flawless finish
- Versatile for various foundation types
- Cons:
- Requires cleaning and maintenance
- Learning curve for beginners
- Pros:
- Sponge Sorcery:
- Pros:
- Seamless blending for a natural look
- Great for a dewy finish
- Can be used for other products like concealer and blush
- Cons:
- Needs regular replacement
- Slightly absorbs product
- Pros:
- Finger Filter:
- Pros:
- Quick and convenient
- Warms the product for better blending
- Minimal tools needed
- Cons:
- Limited precision in detailed areas
- May not provide full coverage
- Pros:
Pro Tip: Blend and Mix! Don’t be afraid to mix and match techniques. Use a brush for precise application, a sponge for blending, and fingers for quick touch-ups. Your face, your rules!
Factors to Consider When Choosing a Technique
- Time Crunch: If you’re always on the go, fingers or a sponge might be your best bet for quick and efficient application.
- Precision Needs: If you love a detailed application, especially around the eyes or nose, a brush could be your makeup soulmate.
- Coverage Goals: Need full coverage? A brush or sponge might be your go-to. For a sheer look, fingers can be your best friend.
Pro Tip: Experiment! Play around with each method and see how they feel. Sometimes, it’s the journey that helps you discover your preferred technique.
Consider Your Skin Type
- Dry Skin: If your skin tends to be on the drier side, a sponge can be your hydration hero. The dampness adds an extra layer of moisture.
- Oily Skin: Oily skin? Brushes and sponges work wonders for an even application, and powder foundation can be a game-changer.
- Combo Skin: For combination skin, it’s all about balance. Use a brush for precision and a sponge for blending to cater to different areas of your face.
Pro Tip: Seasonal Switch! Adjust your technique based on the season. In warmer months, you might prefer the light touch of a sponge, while in winter, a brush can provide that extra coverage.
Wrapping up
So, there you have it, brushes, sponges, and fingers – each technique bringing its own benefits to the makeup table.
- Brush Genius: Precision, even coverage, and versatility make brushes the artists’ tools of choice. Perfect for those who love a MUA-like flawless finish.
- Sponge Sorcery: These bad boys are all about seamless blending and a natural finish. It’s your go-to for achieving that dewy glow and a soft-focus effect.
- Finger Filter: Quick, convenient, and personal, finger application is ideal for those who prefer a minimalistic approach and a natural, lived-in look.
Remember that whether you apply foundation with brush, sponge or fingers, it is not just about the tools; it’s about what works for your specific needs. Embrace the brush, sponge, or fingers that feel right for you. It’s about experimenting with colors and textures, and ultimately, feeling confident in your own skin.
So, which technique will become your signature? Will you dance with the precision of a brush, the softness of a sponge, or just use your fingers?
FAQS
Q1: Can I use the same brush for different types of foundation?
A: While some brushes are versatile, it’s best to use specific brushes for different foundation types. For instance, a flat, dense brush works well with liquid foundations, while a fluffy, rounded brush is great for powder.
Q2: How do I clean my foundation brush?
A: Regularly clean your foundation brush by using a gentle brush cleaner or mild soap. Rinse thoroughly and let it air-dry. This prevents product buildup and ensures a flawless application every time.
Q3: Can I use my fingers to blend foundation effectively?
A: Absolutely! Using fingers can provide a natural finish. Ensure your hands are clean, and blend the foundation using upward and outward motions for a seamless look.
Q4: What’s the best way to choose the right foundation shade?
A: Always test the foundation on your jawline or wrist in natural light. Consider your undertones – warm, cool, or neutral – to find the perfect match for your skin.
Q5: How often should I replace my foundation brush?
A: Replace your foundation brush every 3-6 months, or sooner if you notice bristle damage or shedding. A fresh brush ensures optimal performance and hygiene in your makeup routine.
Leave a Reply